Thursday 30 December 2010

Beauty UK mani and Nails Inc Kensington Caviar

Hey, hey! How's it going today?

I finally got rid of the Christmas mani -  it was chipped beyond recognition after a marathon cleaning session yesterday morning. Usually, I don't feel comfortable with the idea of showing a polish 'haul' unless I got a bargain but today, I'm happy to show you what I bought a few days ago...along with my current manicure.

I'm sure you've seen me with Beauty UK polishes before, well, today is no different.  In Superdrug, they are doing a three-for-two on a range of products including cosmetics. So I  got five polishes and a small eye shadow palette (two of the polishes were free):

 L-R: Pink Explosion, Peach Melba, Soft Lilac, Soft Grey, Yellow Peril.

From Savers. It has three separate sheets of nail stickers for £1.50 or something like that.

I really wanted to do an exciting manicure but I was just so tired. This is what I came up with:
 I used the grey and lilac polish as well as grey/white and lilac stickers.


 The grey was streaky on application but both colours were perfect after three coats. Fantastic value for £1.99 each! Beauty UK has a nice range and have a website showing all of their goodies. I think I may have to order on-line in future because Superdrug sells these small bottles for the price of the bigger bottles on the site! The on-line range is far more extensive than what I've seen in store...plus there's a nice red glitter that I wouldn't mind having (but it's out of stock!!)

 This Kensington Caviar topcoat by Nails Inc is supposed to take 45 seconds to dry. It lived up to its claim and I will definitely use this from now on.  The only thing that was a bit strange was that straight after it was applied, it felt as if I'd put ice water on my nail. It wasn't unpleasant in any way, just really cold for a second or two.

I've had these nail stickers for a while and have never used them. I wanted to try out the big on and just stuck it on there.  I think it looks a little out of place, but I like it nonetheless. That's topcoat all over my cuticles by the way, not dry skin.
The raised texture is making me want to try out some 3D nail designs (to a lesser extent) or some fimo...stay tuned for that experiment.

I hope you like my feeble attempt. I was seriously knackered :-D

Take care friends.

Tuesday 28 December 2010

Red Franken

Hello everyone. How's it going?

I'm sat here typing with my chipped and battered Christmas manicure so, for today, no gratuitous nail shots or photo spammage from moi. I did manage to pick up a few nail stickers for £1.50 from my local Savers today, so I'll put them to use tonight and get back to you...

For the past couple of weeks I've been on an on-line hunt for Studio M Slamming Red (look at Enamel Girl's, it's gorgeous!).  It's a nice reddish glitter polish that is highly coveted by many polish lovers. It's also one you can't get here and I can't find any on Ebay either. Unless I beg another wonderful, kindly, super generous blogger to do a swap with me, I'm not going to get this polish any time soon.  Sooo, I thought I'd try to make my own to satisfy myself for now.

I was perusing the cosmetics section of my tiny, local pharmacist last week. Well, I was actually on my hands and knees with my face buried in the discounted make-up basket and I found these little beauties just sitting there waiting for adoption - 3 for £1.  I couldn't leave them behind could I? It would have been rude.
 They only have numbers, no names. I don't even know who made them!

 I reckon they are less than 5ml in volume too.

 I thought I'd be clever and use one of the two reds I bought, Nubar Essence (because it looks gross on me on its own) and Juicy Jules to franken my own knock-off Slamming Red.


 This is what I ended up with.
.

Okay, so it's not quite a match but it will do for me...unless of course, someone has a spare one of the real Slamming Red just gathering dust that they wouldn't mind swapping for a UK brand...
I haven't even swatched it yet. Right, where's the acetone - I've got to get a-mending and a-painting.

On that note, see you later ;-)

Monday 27 December 2010

Ruined Christmas mani...but got nice pressies!

Hi everyone! Did you have a good Christmas?

I had a lovely day filled with family, food and festivities.  Dribbles cut her first tooth (finally), Little'un got presents galore and my macaroni cheese went down a treat at the huge Christmas dinner table.

I got a few nail related presents from my hubby, but first, I need to show you what I did to myself...
 Yes, I tore my nail whilst opening a drawer!

 What a way to ruin a manicure, eh?

 This lazy girl decided to fix the nail - I wasn't about to start removing polish at 1am.  I used some nail glue to stick the tear together then got a piece of fibre glass wrap and cut a strip off to cover the the tear.

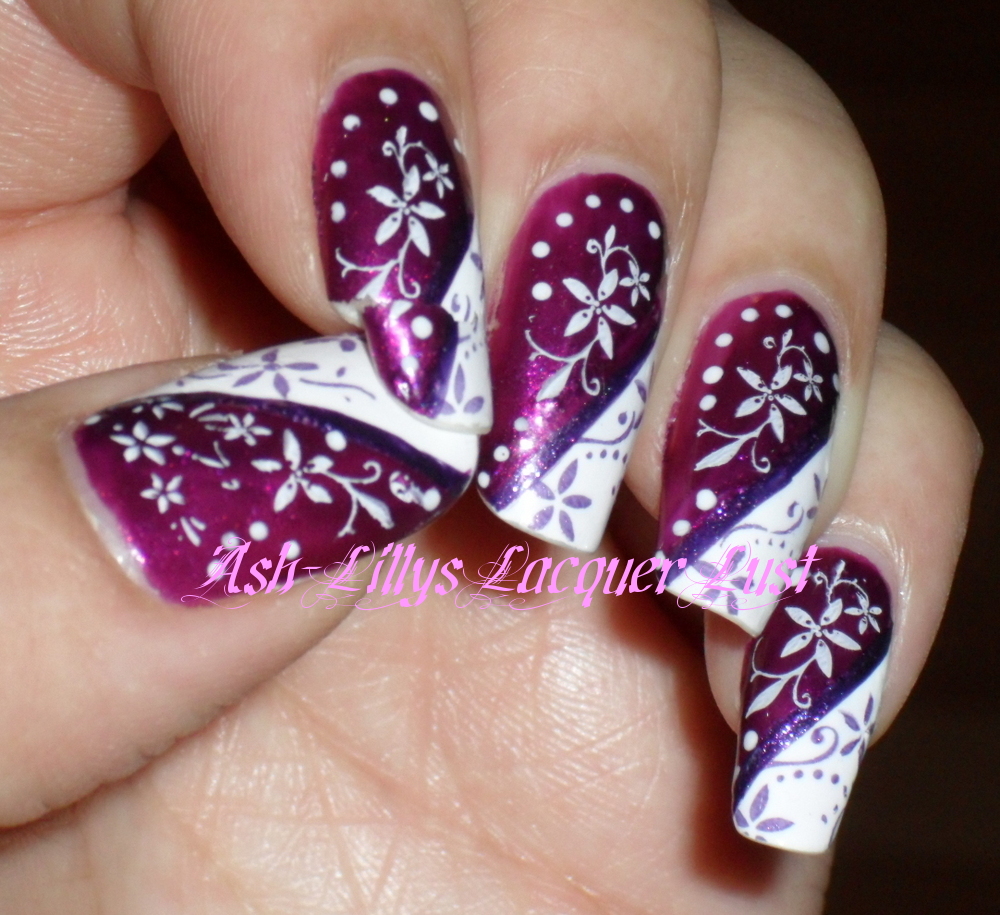
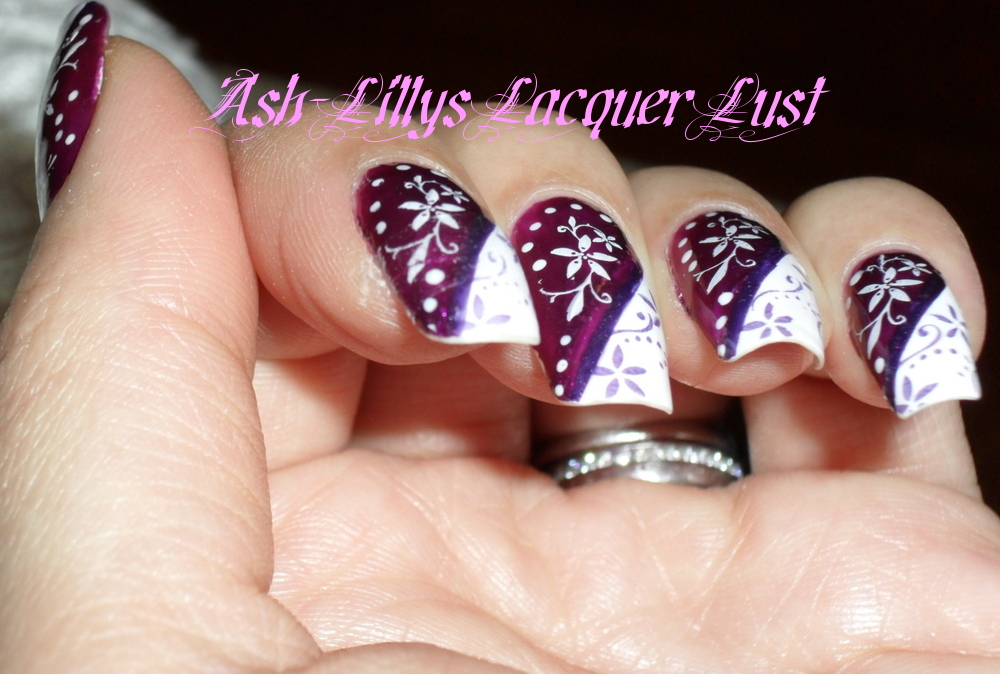
 Here the strip is. This is only a temporary fix. When I change my manicure I'll soak the whole thing off with acetone and repeat the repair process on bare nails.

Next, I brushed some resin onto the fibre glass strip. This stuff bonds in seconds, like superglue so you need to be careful.  You can use an activator spray to dry and harden the resin instantly, but I chose not to use it because it dries out my skin...I have really dry hands already. Once it air dried and was no longer tacky, I brushed on a second coat.

And there you have it. Repaired and no longer scary to look at! I'm going to try and grow this nail out with the strip on.  The break doesn't hurt, but I don't fancy wandering around with a nub on my 'photo' hand!

Here are some of my presents!
A little storage chest from Argos. It's already full but I have a large wardrobe and could fit this and another two (possibly) in there if need be... I'm also going to attempt to use the box this came in to make a light box! Stay tuned for that one.
 Bottom drawer of reds, pinks, purples, blues and greens.

Middle drawer with some more greens, blacks, dark duos, greys, glitters and clears. I have a little tub of mini pots in there too.

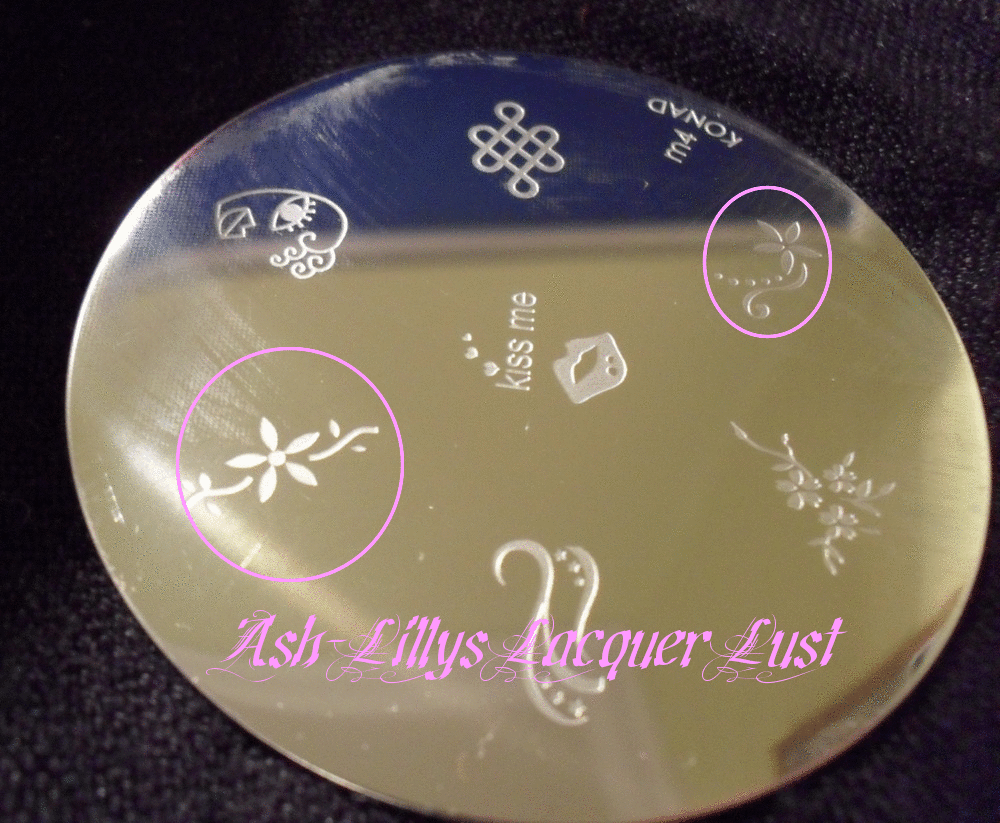
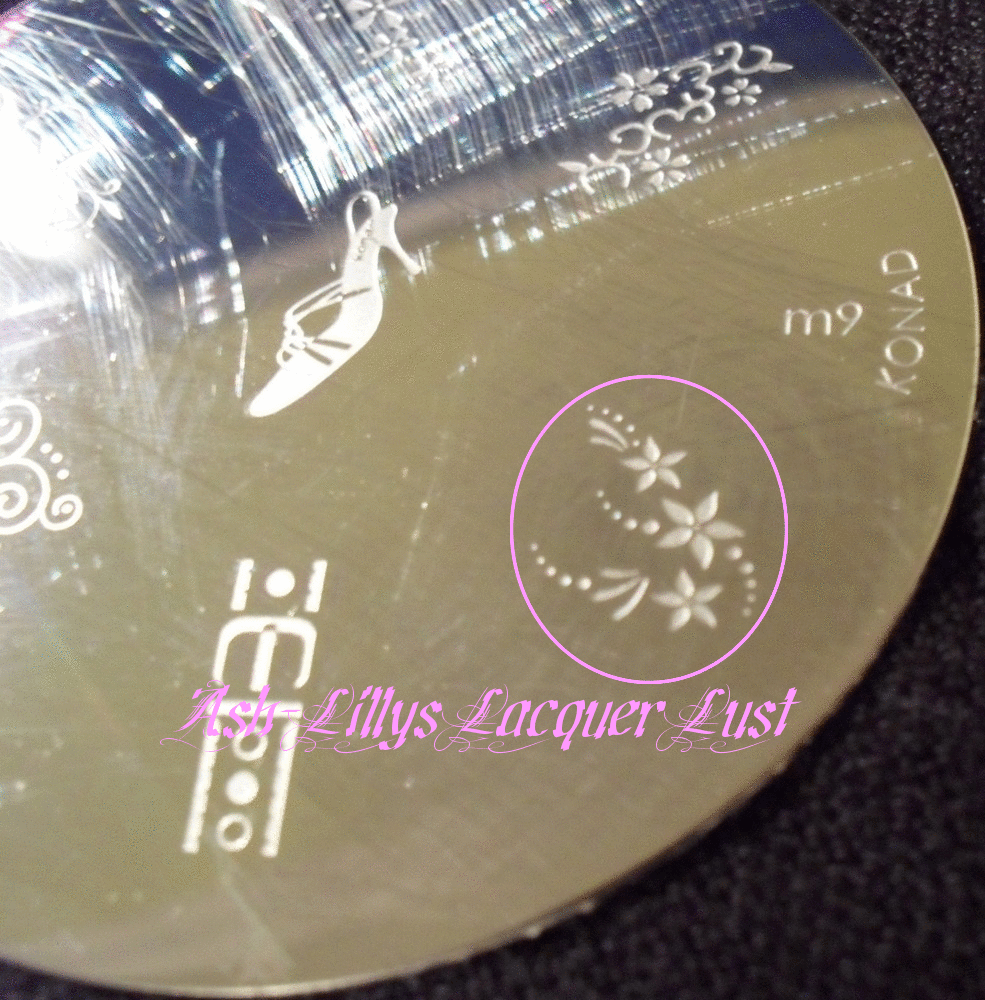
Top drawer. In this one there are files, diamantes, stamping accessories, nail tips, striping colours, tape, transfers, stickers and other bits and bobs.
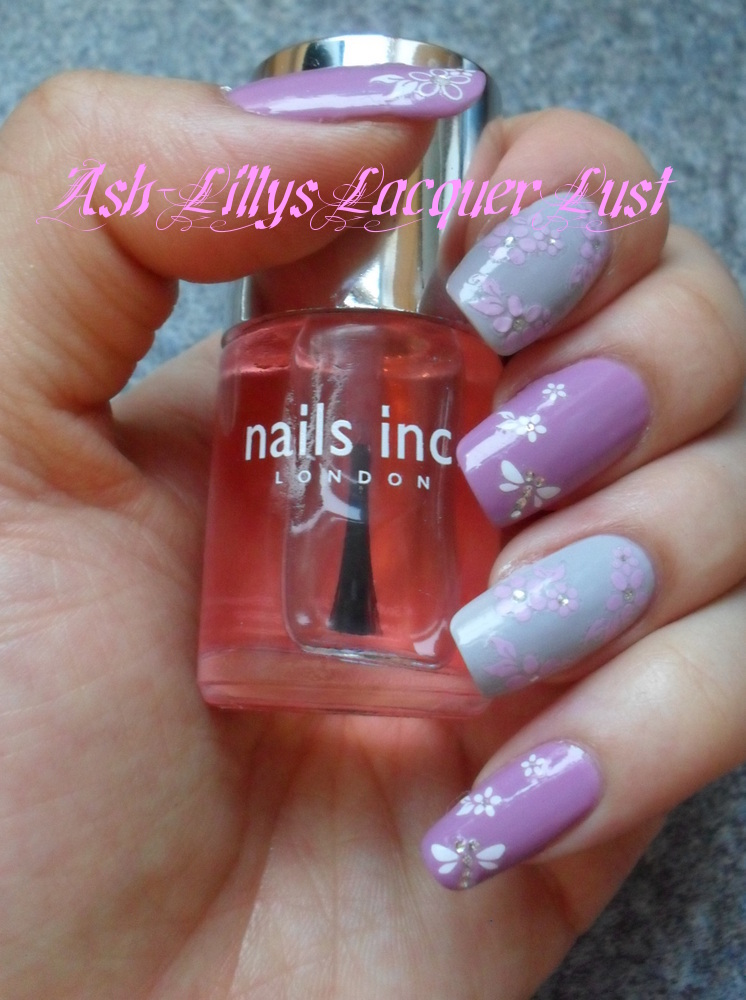


 Nails inc set.

 L-R. 10ml bottles of Kensington Caviar topcoat (dries in 45 seconds apparently), Kensington Caviar basecoat, Ebor Street (pink with tiny shimmer particles), Shoreditch High Street, Kabaret.

 L-R 4ml bottles of Stables Market, Bruton Street, Henrietta Street and a vitamin E oil pen.

 Manicure set.


What did you get for Christmas? Was your polish obsession indulged by your nearest and dearest?

Take care friends x

Saturday 25 December 2010

TWO designs for Christmas Day! Sponging V's Stamping...


Merry Christmas everyone! Let's hope that it's great for you all.
Over the past two days I've been in a quandary.  No, not about the last minute pressies that needed buying.  It was about my Christmas manicure (I know, I'm so sad). I said no to green, red and gold because I see that every time I look at my Christmas tree and it's starting to jar me a little.  So I went for something non-christmassy.

This was the first thing I came up with...but didn't stick with it!

Sponging with some bows.

 
L-R Beauty UK Glam Nails White, Barry M Berry I/C, Models Own Magenta Pearl, Models Own 3-in-1, sponge from an old sponge hair roller.


Nfu-Oh 50, Star Gazer 112 and three Rio Nail Art Stripers (but I used the brushes and not the actual Rio polish - because it smudges)

 1. Start by painting white over your base coat - I used two coats.

 2. Ignore the middle finger for a sec, I forgot to take pics before I did step three. Dab some polish on your piece of sponge and start dabbing onto your nail, starting at the tip and moving towards the cuticle. Try to use less dabs the further up you go and maintain colour intensity on the tips.


 3. Repeat sponging with the second colour, starting at the tip of the nail. Try not to go too far over the first colour because you want to create a gradient.

 4. Use a striping brush to paint on a bow. Try to outline it with the black polish and add some shading with the darker of the sponged colours...I tried, but I'm no artist :-S

 5. Nearly finished.


6. Put a layer of Nfu-Oh on and Bob's Your Uncle!! I didn't leave it like this though. I went for the next pattern and stuck with it.


THIS is my Christmas manicure...
 Models Own Magenta Pearl

 L-R Konad Special Polish, Beauty UK White, Rimmel Pompous, Models Own Magenta Pearl, Rio Nail Art Purple (only used the brush though, not the colour).

 Konad Stamping Plate M4

 ...and M9

 1. Paint on two coats of white diagonally (or all over if you choose). The bare bit of the nail will be covered with another polish.

 2. Put scotch tape (or any other tape you want) diagonally across the nail bed and tip. Leave the cuticle area free of tape and paint that with the red colour. Let it dry well and peel off the tape SLOWLY.

 3. Use the striping brush to paint the purple in between the red and white, to cover any imperfections.

 4. Use the Konad stamping kit to stamp on the images you want; dark colours in the white section, white colours in the dark section.

5. Use your favourite top coat and proceed to stare at your nails whenever they catch your eye!

I hope you found this post helpful and easy on the eye :-) Have a wonderful Christmas and I'll be back in a day or two.


Friday 24 December 2010

GOSH - Green Dragon

I know it looks like I've got a blue and green theme going on here. I swear, I haven't done it on purpose, but I just find myself gravitating to these colours at the moment. Today is no different. If you don't like green, I've spared you and have only put up three pictures!

This is Green Dragon by Gosh:
 You can see the duochrome tendancies of this polish. It has golden undertones.


This was three coats and I decided not to adulterate it in any way.