Saturday 27 August 2011

Well, Hello Kitteh!

Hi friends, I hope this blog post reaches you in good health...

My last post featuring the water decals was quite some time ago - but this is mainly because they lasted so long. Well over a week, in fact. I enjoyed wearing them so much, I didn't have the heart to remove them.

Unfortunately, my nails have reached the length where they usually start to break on me. 8/10 of my nails is sporting a patch at the moment. Only my ring fingers are damage free :(

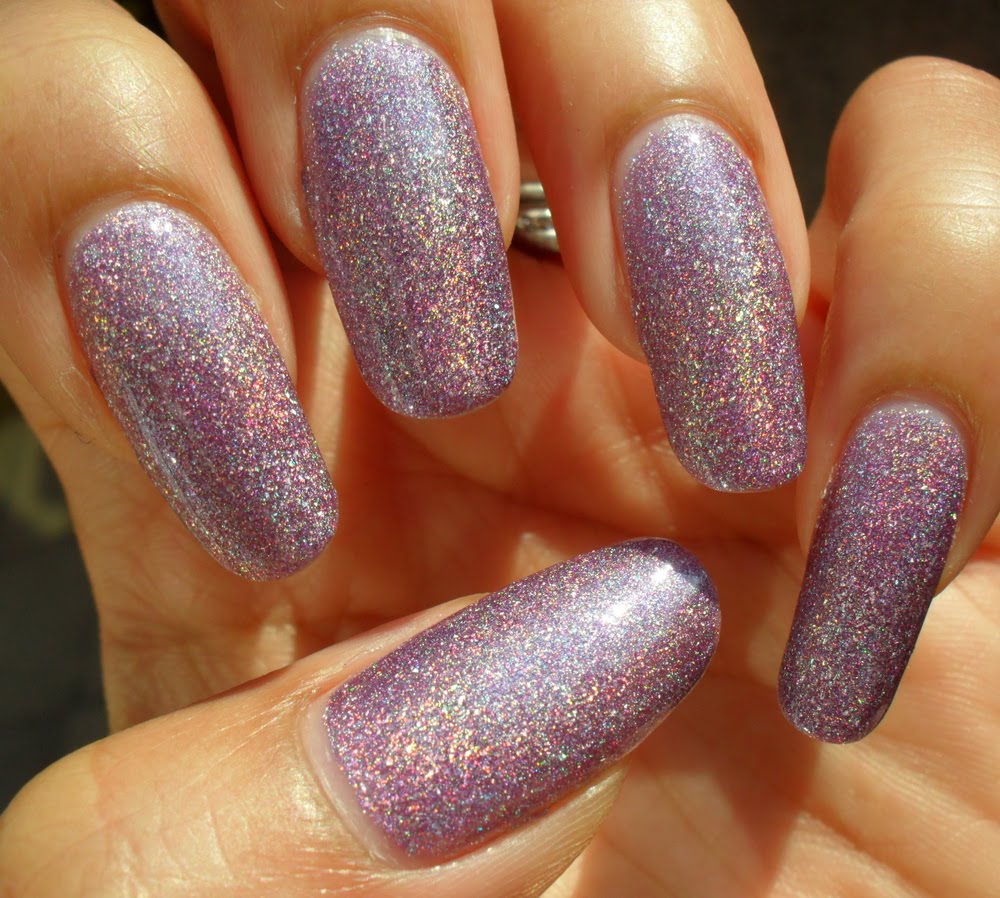
Here is something I did last night with a polish I picked up from H&M (or Hennes, as I frequently call it...yeah, I'm old skool).

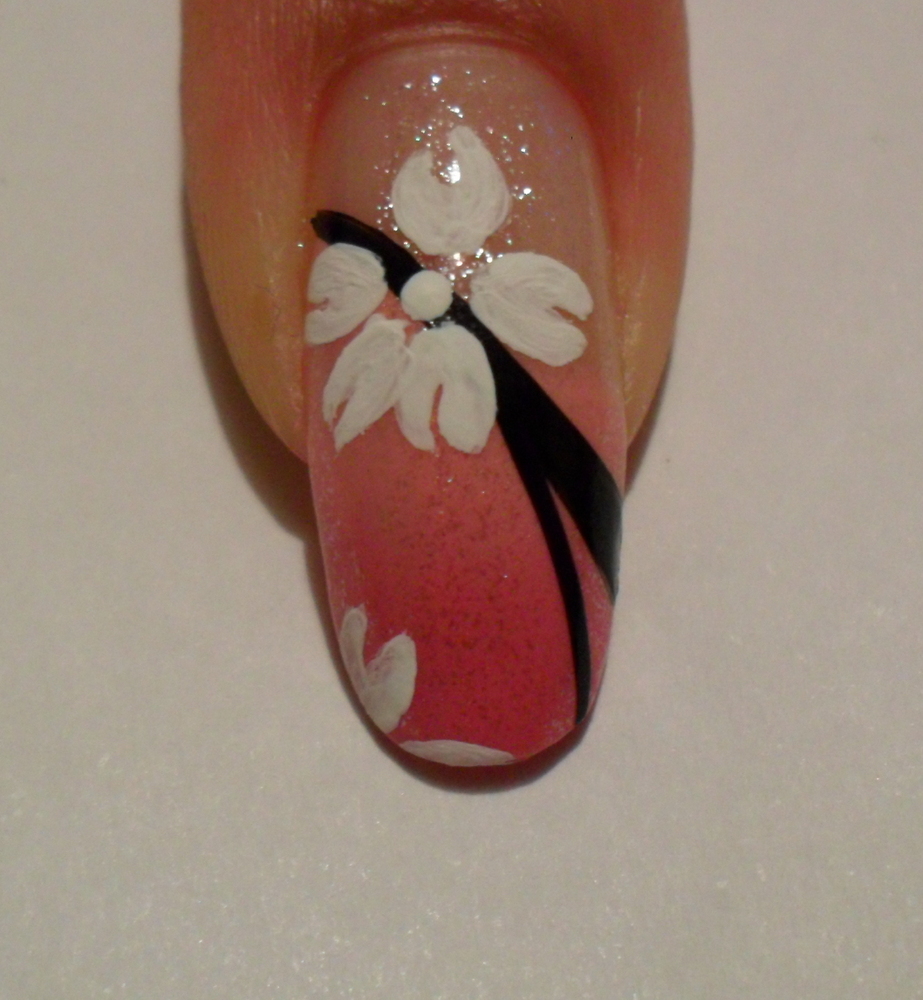
I painted the tips pink first and then made the stripes with this polish. When I was done, I added the rhinestones and then the lace sticker tape for a final touch.

I like 3D nail art, especially Japanese nail art trends. Anything sculpted, embedded or contrary to the normal manicure is the thing for me. I can't say that I'd wear all of it because I've seen some really abstract designs, but I'm interested in the creation of nail art.  So much so that I've decided to further my knowledge about the nail industry and take a course.


So, what areYOUR favourite nail trends? What manicures are easy on your eye? Which ones make your skin crawl? Which nail shape do you prefer? I'm so NOT a fan of mid-to longer length nails that are rounded to a point and look like lions claws...are you?

Monday 15 August 2011

Water decals

Hey friends. Guess who found their USB cable?

This is what I'm wearing today - full cover water decals. I absolutely LOVE these!


I'm selling a few of these in my shop

All I did was use one layer of basecoat, choose the correct sized decal for a nail, cut it out and put it in a bowl of water. After a few minutes, I was able to slide the design off the cardboard and put it on my nail. I then filed of the excess and put on two layers of topcoat afterwards. If your nails are longer than mine, they would still fit you - I had over 5mm excess design left after application. They were very easy to apply and slid of the cardboard with ease when they were wet. The decals were also pretty sturdy, not like some that just disintegrate when polish touches them. I've now been wearing these for a full day...so far, no chips.

Ah, I've also re-shaped my nails. The are more square now. The oval shape was getting on my nerves.
Below is a picture of what they looked like before the squaring and decal-ing!

Happy Monday folks!

xx

Saturday 13 August 2011

Milani!

Hi friends.

I hope you are doing better then me at the moment. I'm bunged up with a cold. Boo. I've also misplaced my usb cable for my camera and the pictures that I wanted to upload are stuck there on the memory card. Laughing at me.

I only have two teensy pictures this evening. They are both of a gorgeous Milani polish...whose name escapes me at the moment and so does the bottle. I'm starting to have the feeling that the polish and my usb cable have arranged a secret rendezvous. I'm not impressed.


xx

Monday 8 August 2011

Hand-painted Blossom tutorial

Hello friends, how are you?

At the moment we are in the midst of riots in London (which have also spread to Birmingham and Leeds...so far). I'm not going to go into the negativity that has caused it all, so this post is intended to lighten the mood a little.

Today I have a tutorial for you.


This is my hand-painted flower design.

Here's the tutorial:

1. Start with bare nails and add two layers of Claire's Mood Polish in 'Awesome/Silly' to the tips. Yes, I'm showing my right hand!!!!

2. Add a layer of Sally Hansen's Diamond Strength in 'Diamonds'.

3. Add black stripes with nail polish.

4. Add a dot of white acrylic paint as a guide to the centre of the flower.

5. Start your petals off as'U' shapes. This was the easiest way for me to do it.

5. Fill them in.

6. Add stripes of red paint to make your petals look like petals, lol!

7. Add dots of clear nail varnish to the centre of your flower, wait for it to become tacky and then dip your nail into some gold coloured balls.


I hope you liked the design. I'm sorry the pictures of the steps were so amateurish - I painted my nails at night and I was too tired to get the light box out to take pictures. 

xx

Wednesday 3 August 2011

Bargain hunting and a wicked swap

Ay me. Why do I always choose to blog late at night when I'm supposed to be getting an early night? I'm a glutton for punishment, clearly.

How are you all?

Yesterday I went rummaging on my lunch break. You know about my love affair with Seche Vite right? Well, I've finished the bottle I bought. I went to Boots on the hunt for a new one, but they had every other Seche product save the one I wanted. I desperately needed a fast dry top coat and I found these - buy one, get one half price:

 Hmmm. Not a patch on my SV, I'm afraid. Okay, so they would usually cost £6 or so each, but the Insta-Dri does not dry my one layer of base and 3 layers of colour in 30 seconds. Nope. Not even in a few minutes. It may be dry to touch but my nails are still tacky and prone to imprints.The Nail Thickener? I don't know yet, I'll come back to you.

I also got these pretties in Clarks. From £39.99 to £11.99? BARGAIN!

Lastly, I've had the pleasure of completing at transatlantic swap with Shadow. Yeah, I'm pretty stoked at the moment. I'll be back with nails sometime this week.

Stay happy.

xx

Monday 1 August 2011

Hey friends...happy Monday!!!

Just wanted to let you know that I've added and amended a few things in my shop, so please take a look.