Hi everyone.
Last post I told you that I had a tutorial for applying foils to your nails...well, here it is. Whilst it's not rocket science, there are rules that you have to follow to ensure that you get perfect application.
This is 'Microdots'
The tutorial uses the foil from the previous post.
Here are the items to use: a foil adhesive, the base coat or colour, a cotton bud, the foil and the foil top coat.
Start with measuring out the amount of foil you will need for each nail. You may also want to cut one or two extra pieces in case you make a mistake.
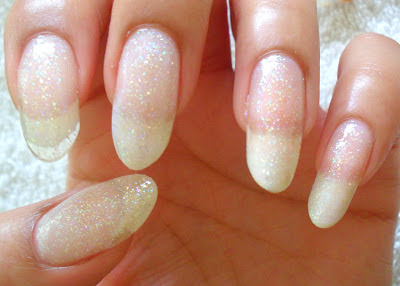
Apply a base (colour or coat). I chose a glitter base for this manicure. Make sure your base colour or coat has dried HARD. If it isn't, it may come away with your foil when you remove it.
After your polish is dry, apply a thin, even layer of adhesive. It will have a pearlised white appearance upon application and it will need to dry. You can use a hair dryer to dry the adhesive, but if you air dry, you're going to be waiting for about five minutes. I found this step the hardest because I kept trying to use the foil when the glue still wasn't dry!
Apply with the shiny or design side up. Rub the foil with a cotton bud or your finger so that foil pattern can be transferred to your nail. Remove the foil gently so as not to tear your design. If you find that some of your design did not transfer to your nail, re-apply the foil, rub and remove again.
Finally, apply the top coat. Float the polish down the nail rather than drag it - you don't want your design to smudge. There you have it!
I have yet to try the top coat on a shiny foil - that will be the test for me. I'll do that soon and of course, I'll let you know how it goes.
Have a lovely week folks ;)
xx


Wow! That is really pretty foil! I want to go buy foil everytime I see you wearing it!
ReplyDeleteLol, NT, sounds like I'm an enabler!
DeleteSo pretty, it has such a nice finish :)
ReplyDeleteThanks for sharing. These are super pretty!
ReplyDeleteThese foils looks super unique!! Very pretty designs!!
ReplyDelete